Skip to content
How To
Apk
Tech
Action
Adventure
Review
Contact us
ANIME SERIES
Cowboy Bebop (Season 1 + Movie) 1080p Dual Audio HEVC
Action
Adventure
ANIME SERIES
Drama
Historical
Vinland Saga (Season 01) 1080p Dual Audio [Multi-Subs] HEVC
General
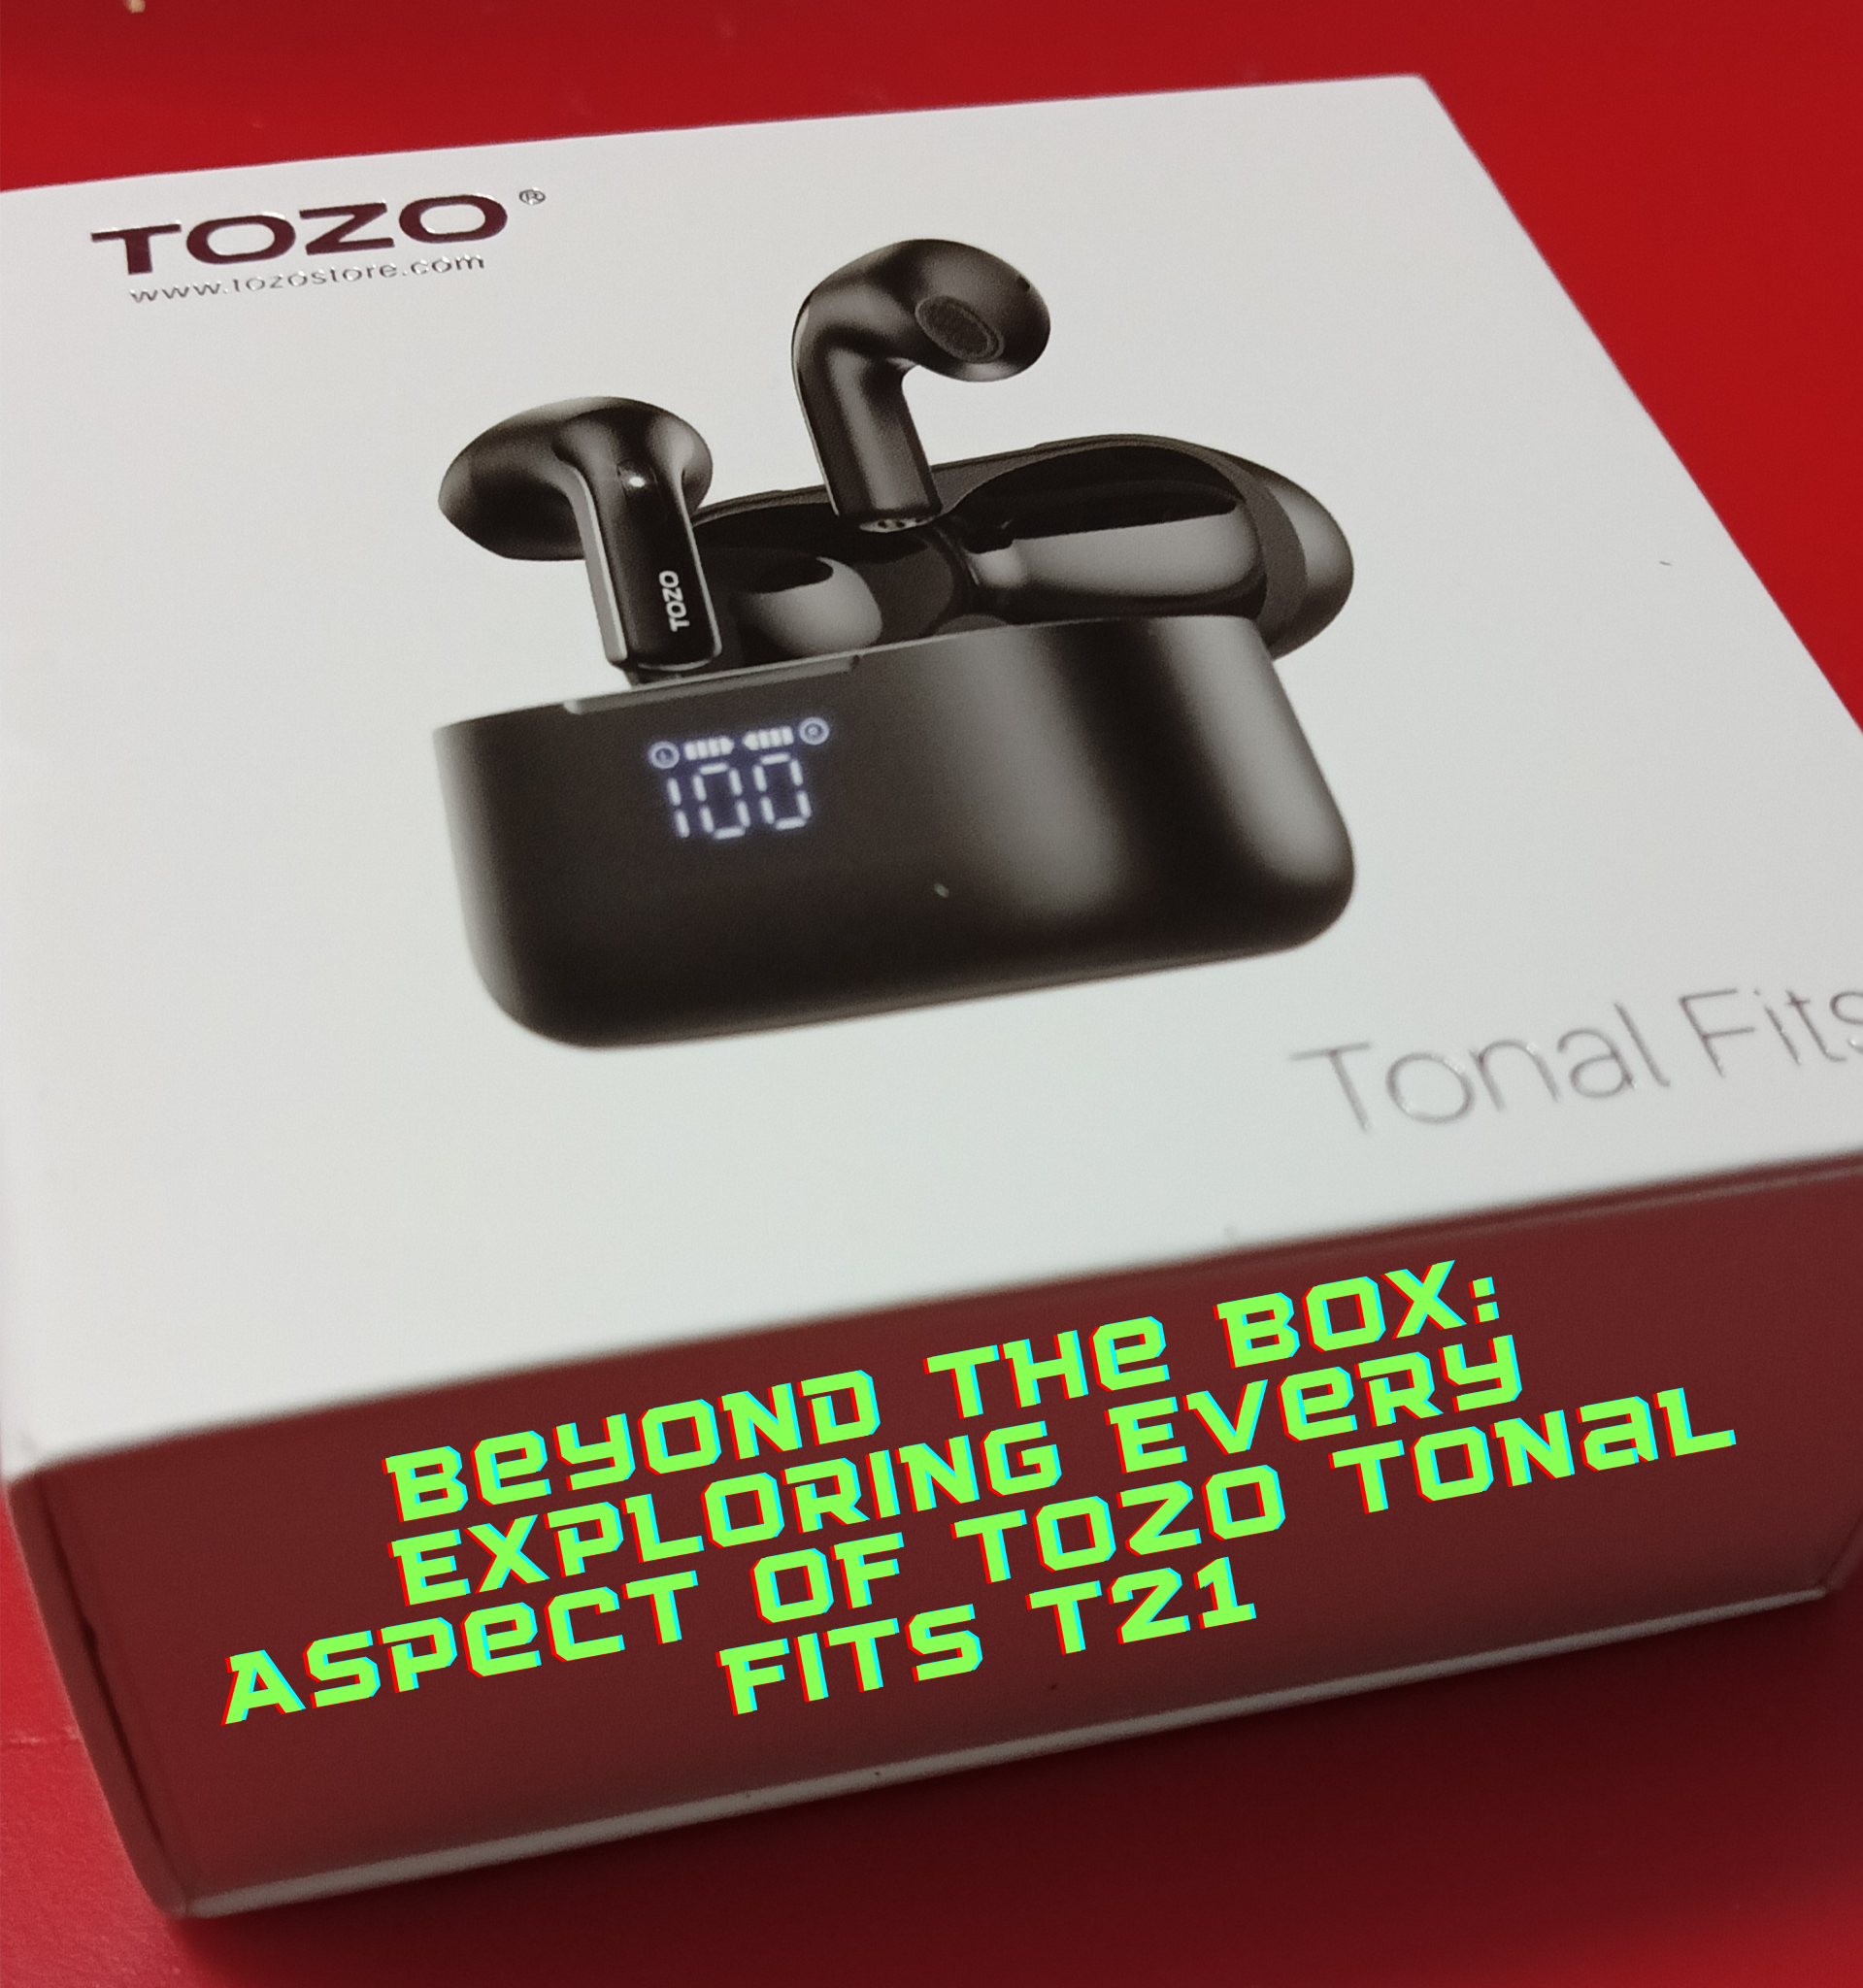
Beyond the Box: Exploring Every Aspect of Tozo Tonal Fits T21
Latest Post
ANIME SERIES
Cowboy Bebop (Season 1 + Movie) 1080p Dual Audio HEVC
Action
Adventure
ANIME SERIES
Drama
Historical
Vinland Saga (Season 01) 1080p Dual Audio [Multi-Subs] HEVC
General
Beyond the Box: Exploring Every Aspect of Tozo Tonal Fits T21
Tech
Raysync’s Strategies for High-Performance Bulk File Transfer
Travel
How To Organize A Cross Country Move Without Stress
Digital Marketing
Mastering Advertising Localization: A Key Strategy for Enhancing Brand Loyalty
Technology
Tech
Raysync’s Strategies for High-Performance Bulk File Transfer
Tech
Rytr vs Autoblogging.ai
Tech
Comparison of File Transfer Efficiency and Enhancement Solution
Tech
Understanding SQL: The Foundation of Modern Database Management
Tech
Best Tips For Restaurant Owners On Choosing The Top Pos Software
Tech
Best Way to Recover USB Data? Download This Tool and Get Started!
Action
Action
Adventure
ANIME SERIES
Drama
Historical
Vinland Saga (Season 01) 1080p Dual Audio [Multi-Subs] HEVC
Action
ANIME SERIES
Pluto (Season 1) 1080p Dual Audio HEVC
Action
ANIME SERIES
Fantasy
Magic
Kaze no Stigma (Stigma of the Wind) 420p Dual Audio HEVC
Fantasy
Action
ANIME SERIES
Fantasy
Magic
Kaze no Stigma (Stigma of the Wind) 420p Dual Audio HEVC
Action
ANIME SERIES
Drama
Fantasy
Shakugan no Shana (Season 1-3 + Movie + OVA) 720p Dual Audio HEVC
Action
Adventure
ANIME MOVIES
ANIME SERIES
Fantasy
romance
Sword Art Online (All Seasons + Movie + Gun Gale Online + OVAs) 1080p Dual Audio HEVC
ANIME SERIES
Comedy
Ecchi
Fantasy
Peter Grill and the Philosopher’s Time (Season 1) 1080p [UNCENSORED] Dual Audio HEVC
Action
ANIME SERIES
Comedy
Ecchi
Fantasy
romance
School
Shounen
Trinity Seven (Season 1 + OVAs + Movie) 1080p Dual Audio [Multi Subs] HEVC
ANIME SERIES
Fantasy
My Happy Marriage (Watashi no Shiawase na Kekkon) (Season 1) 1080p Dual Audio HEVC
Comedy
ANIME SERIES
Comedy
Drama
Bakuman (Season 1-3 + OVAs) 1080p Eng Sub HEVC
ANIME SERIES
Comedy
School
Haven’t You Heard? I’m Sakamoto (Sakamoto Desu ga?) (Season 1 + OVAs) 1080p Dual Audio HEVC
ANIME SERIES
Comedy
Ecchi
Fantasy
Peter Grill and the Philosopher’s Time (Season 1) 1080p [UNCENSORED] Dual Audio HEVC
Business
Business
Challenges in the Flower Delivery Chain and How Businesses Overcome Them
Business
Safety First: Why Every Business Needs a Qualified Commercial Electrician
Business
Benefits of Clock In Clock Out Apps For Remote Businesses
Business
Mastering Monetary Metrics: Assessing Your Company’s Worth
Business
service
Enhance Home Security: Smart Safe Solutions
Business
Effective Business Exit Strategies in Salt Lake City
Shounen
ANIME SERIES
Mystery
Psychological
Shounen
Supernatural
Death Note (Season 1 + Special) 1080p Dual Audio HEVC
Action
ANIME SERIES
Comedy
Ecchi
Fantasy
romance
School
Shounen
Trinity Seven (Season 1 + OVAs + Movie) 1080p Dual Audio [Multi Subs] HEVC
ANIME SERIES
Comedy
romance
School
Shounen
Rosario to Vampire (Rosario + Vampire) (Season 1-2) 1080p Dual Audio HEVC
Adventure
Action
Adventure
ANIME SERIES
Drama
Historical
Vinland Saga (Season 01) 1080p Dual Audio [Multi-Subs] HEVC
Action
Adventure
ANIME MOVIES
ANIME SERIES
Fantasy
romance
Sword Art Online (All Seasons + Movie + Gun Gale Online + OVAs) 1080p Dual Audio HEVC
Action
Adventure
ANIME SERIES
Boruto: Naruto Next Generations 1080p Dual Audio HEVC
Action
Adventure
ANIME SERIES
Fantasy
Magic
Shounen
Magi (Seasons 01-02 + Adventure of Sinbad) 1080p Dual Audio [Eng Subs]
Action
Adventure
ANIME SERIES
Drama
Fantasy
Mystery
Tower of God (Season 1) 1080p Dual Audio [Multi-Subs] HEVC
Action
Adventure
ANIME NEWS
Drama
Banana Fish (Season 1) 1080p HEVC [Eng Sub]
romance
ANIME SERIES
romance
My Love Story with Yamada-kun at Lv999 (Season 1) 1080p Dual Audio HEVC
Action
Adventure
ANIME MOVIES
ANIME SERIES
Fantasy
romance
Sword Art Online (All Seasons + Movie + Gun Gale Online + OVAs) 1080p Dual Audio HEVC
Action
ANIME SERIES
Comedy
Ecchi
Fantasy
romance
School
Shounen
Trinity Seven (Season 1 + OVAs + Movie) 1080p Dual Audio [Multi Subs] HEVC
You Missed
ANIME SERIES
Cowboy Bebop (Season 1 + Movie) 1080p Dual Audio HEVC
Action
Adventure
ANIME SERIES
Drama
Historical
Vinland Saga (Season 01) 1080p Dual Audio [Multi-Subs] HEVC
General
Beyond the Box: Exploring Every Aspect of Tozo Tonal Fits T21
Tech
Raysync’s Strategies for High-Performance Bulk File Transfer
Search for:


![Trinity Seven (Season 1 + OVAs + Movie) 1080p Dual Audio [Multi Subs] HEVC](https://techsdroid.com/wp-content/uploads/2021/09/Trinity-Seven-Season-1-OVAs-Movie-1080p-Dual-Audio-Multi-Subs-HEVC.png)


![Tower of God (Season 1) 1080p Dual Audio [Multi-Subs] HEVC](https://techsdroid.com/wp-content/uploads/2021/09/Tower-of-God-Season-1-1080p-Dual-Audio-Multi-Subs-HEVC.png)